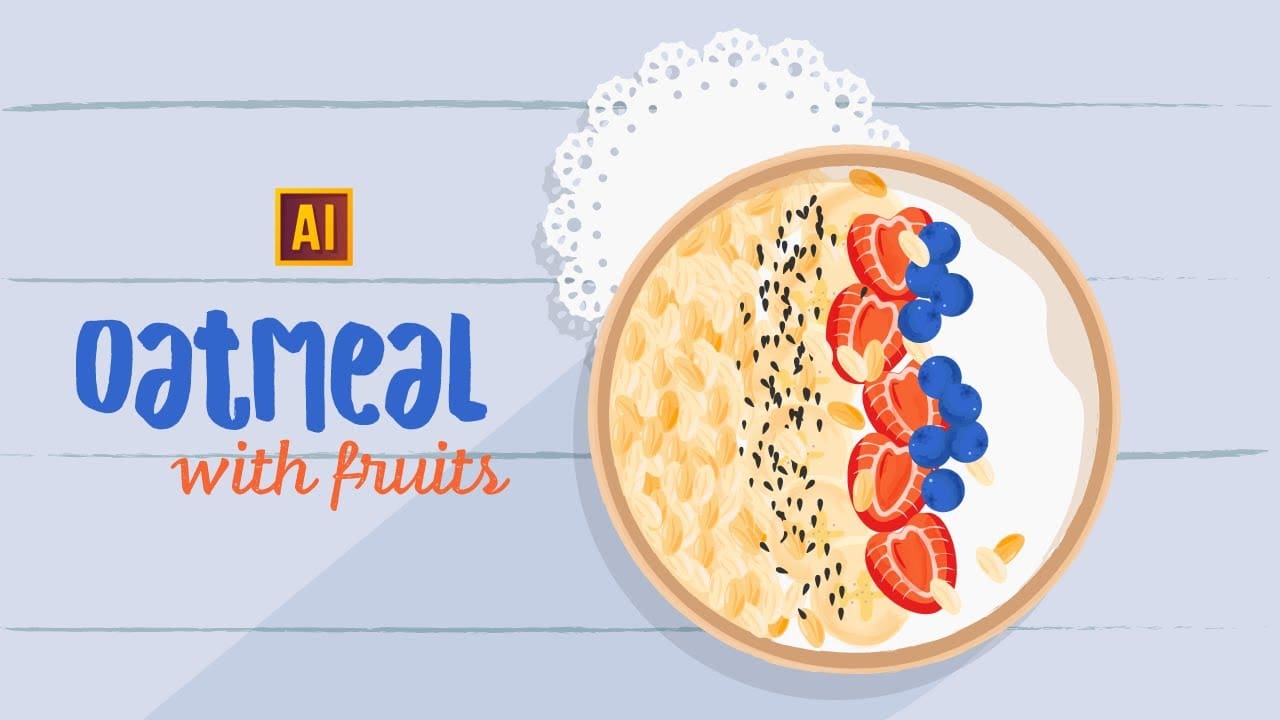
Mastering Fruit Oatmeal Illustration in Adobe Illustrator
Creating a visually appealing oatmeal breakfast complete with a diversity of fruits isn’t just a culinary skill. As a graphic designer, you can conjure this delight in Adobe Illustrator, turning a simple meal into an enticing illustration that’s perfect for various projects. Let’s delve into how to bring this vibrant scene to life using Illustrator tools and a splash of creativity.
Setting the Scene: Creating Your Background
Begin by establishing a pleasing backdrop for your oatmeal illustration. Select a light blue color and use the Rectangle Tool to create a square. This will serve as the sky or tabletop. Enhance the background by choosing a darker blue and the Pencil Tool to draw straight lines, which you can manipulate for dynamic texture. An artistic touch can be added through the Brushes Library, using chosen brushes to stylize your lines and give depth to your setting.
Constructing the Plate
Every hearty oatmeal needs a plate! Use the Ellipse Tool to draw a circle with a selected color. To create a three-dimensional look, add dark and lighter ellipses for shadows and highlights. Adjust their alignments and transparency to emulate a realistic plate shading. This base not only supports the visual elements that will follow but also enhances the overall composition of your illustration.
Adding Textural Details
Texture in illustrations creates a sense of realism and depth. For the plate’s texture, use a mix of pen pressure and offset paths to layer shadows and light, adjusting opacity as needed. These details are crucial for transforming flat shapes into tactile elements. Utilize graphic design resources like Envato Elements or GraphicRiver if you need additional textures or tools.
Drawing the Star of the Show: The Oatmeal
For the oatmeal itself, shape it with the Ellipse Tool and modify the paths to mimic its uneven surface. Using a relevant color palette, invoke warmth and texture reminiscent of a real oatmeal. Adjust the opacity and use the Pen Tool to add highlights and shadows, refining the oatmeal’s realistic look. Detailing with gradients or selections from Luminar Neo could enhance the visual richness and depth.
Fruity Additions: Embedding Diverse Colors and Shapes
Now for the fun part—adding fruits! Begin with basic shapes for each fruit; for example, ellipses for bananas and strawberries, customized by direct selection tools for realistic contours. Utilize Pathfinder tools for shaping and overlapping effects. Introduce vibrant colors for each fruit, maintaining color harmony within the composition. For graphic assets specific to fruits or additional inspiration, you might turn to resources like Dealjumbo or Placeit.
Final Touches: Shadows, Highlights, and Textures
Use the Brush Tool to add subtle shadows and highlights, giving your fruits and oatmeal a natural appearance. To apply a unique artistic finish, consider adding a watercolor texture from available brushes. Adjust the layer modes to Multiply to integrate the textures seamlessly. Such finishing touches can significantly enhance the realistic and appealing look of your illustration.
Conclusion
With your illustration complete, you can almost taste the fruity oatmeal from your screen! Utilizing Adobe Illustrator’s powerful tools, alongside external resources, enables you to create not just a dish but a story of colors, textures, and forms.
Video source: HOW TO DRAW AN OATMEAL WITH FRUITS | TUTORIAL IN ADOBE ILLUSTRATOR

@GraphicDesignwithElena
Enjoy )))
@vivekpanwar5256
Elena mam, I am a huge fan of your designing skills
@salmanmehmood470
U r cute 🥰